Expanding the Time Axis
To expand the time axis within your product/template, proceed as follows:
1) Right-click any point on the time axis. A context menu will appear, in which you will choose the Add option.

2) A window will open in which you can enter the number of rows that you wish to add. When you have made your entry, click OK.

3) Below the value area, you will see the editable area in green for the time values that you wish to add.
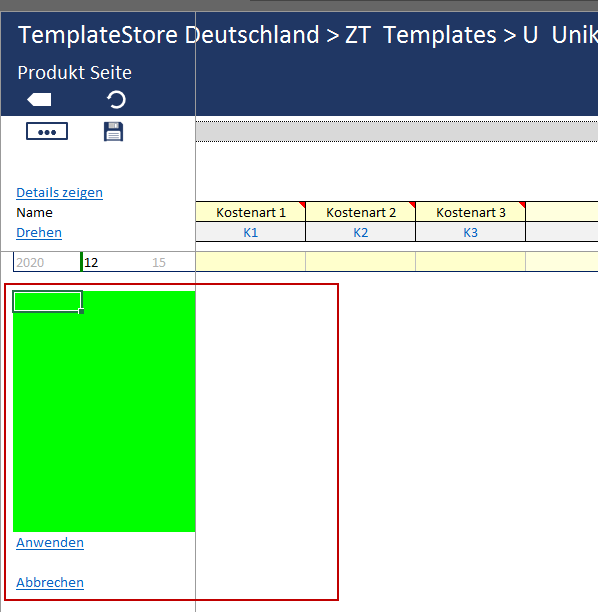
4) Enter the time values you wish to add. In the first column, enter the years; in the second column, the months; and in the third column, the days. The automatic add funtion from Excel can also be used. When you have added all desired time values, click on Apply.
Note: If you add months, the third column will always display 15 as the Days entry. If you add years, the second and third column will always display 01 in the second and third columns for months and days respectively.


5) The new time values have now been added to the existing time axis. Click on Save to save your changes.

6) The time axis has now been expanded to the desired range.

Note: The new time values will be sorted automatically. This means that you can add values lower than the first time value on the original time axis.